Quick and Easy 2 Hour Installation
Natural Light Tubular Skylights can be installed in about 2 hours or less. Installation requires no painting, no wiring or structural changes. Natural Light has many certified dealers nationwide who can professionally install your unit, but homeowners can also install our units.
Increase Productivity And Your Bottom Line!
Adding the sun’s natural light to the workplace has been proven to be a healthier alternative to fluorescent or incandescent lighting. The full spectrum light of the sun creates a significantly better working environment by lifting the overall mood of employees and reducing eye strain, thereby, increasing productivity. Additionally, installing tubular skylights will greatly decrease the need for electrical lighting, resulting in energy savings and lower electric bills.
Step-By-Step Instructions
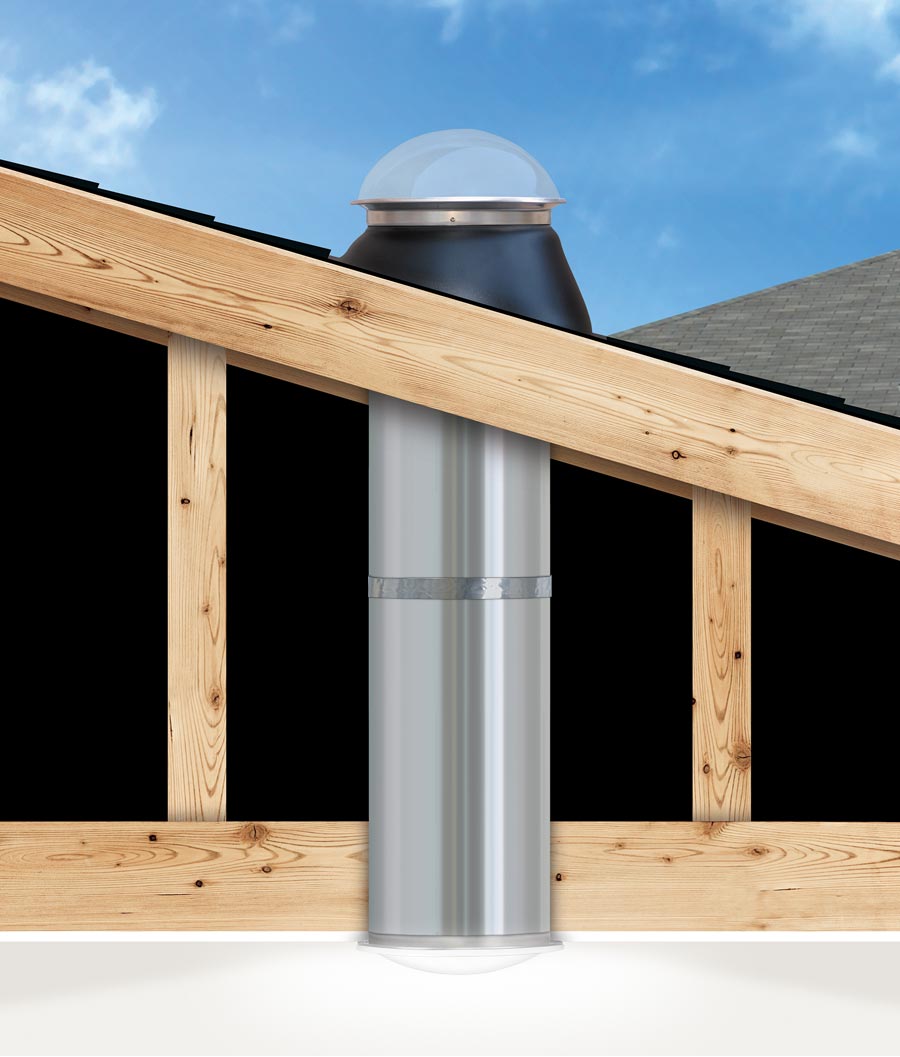
Step-by-step illustrated instructions are available for all kits to assist you. Every tubular skylight comes with all the hardware needed to complete a 48″ long run. If needed, extra light pipe can be purchased for taller installations. Angled adapters (elbows) are also available if a straight run installation is not possible. Angle adapters allow the direction of the light pipe to change up to 45 degrees on our 10″ and 13″ models and up to 30 degrees on our 18″ and 21″ models – though Natural Light recommends straight runs whenever possible to achieve the highest light output.
Visit installation downloads page.

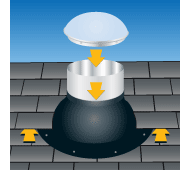
Installation on Roof

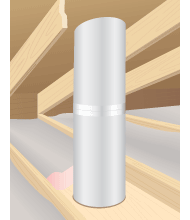
Installation in Attic

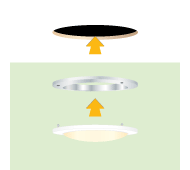
Installation on Ceiling

10 inch roof mount tubular skylight installed on a pitched, asphalt shingled roof.
Summary of Installation Steps
The outline below is just a summary of the steps involved but are not in correct order. Please read and carefully follow the instructions provided prior to beginning your installation.
On the Roof
- Cut opening in desired location (southern exposure is recommended)
- Slide flashing under roof shingles
- Secure with provided hardware and caulk around flashing
- Slide pipe through flashing and into the attic
- Attach dome to flashing
Inside Your Attic Space
- Measure length of light pipe needed for your installation
- Cut light pipe with tin snips
- Secure light pipes together with provided screws and insulation tape
Inside Your Home
- Locate desired location and cut hole in ceiling with a drywall saw
- Attach ceiling collar to the light pipe
- Place diffuser into trim ring
- Snap trim ring into place
- Enjoy your the soft, natural light of your new tubular skylight!
Tools Needed
Caulk, Caulking Gun, Drill, Drywall Saw, Flashlight, Flat Bar, Hammer, Ladder, Marking Pencil, Measuring Tape, Reciprocating Saw, Safety Goggles, Screwdriver, Stud Finder, String, Tin Snips, Utility Knife, Wire


